OPNsense
nProbe can be installed on OPNsense as plugin using the Web interface (recommended) or using the command line. In both cases the ntop repository for FreeBSD should be configured as described at https://packages.ntop.org/FreeBSD/.
Repository Configuration
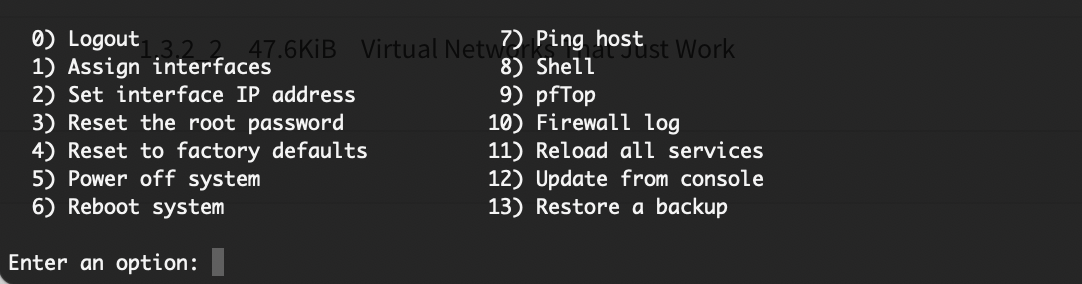
Log into the OPNsense Shell as administrator (select option 8).
OPNsense Shell
And install the repository using the command provided at https://packages.ntop.org/FreeBSD/ (you can cut&paste the command below).
pkg add https://packages.ntop.org/FreeBSD/FreeBSD:13:amd64/latest/ntop-1.0.pkg
Note
On older OPNsense versions the package prefix is .txz so the command will be pkg add https://packages.ntop.org/FreeBSD/FreeBSD:12:amd64/latest/ntop-1.0.txz
The output should look like the below.

ntop Repository Installation
Plugin Installation
Note
Plugins installation in OPNsense requires you to log in as administrator.
Go to the System > Firmware > Plugins page and click on the Check for updates.
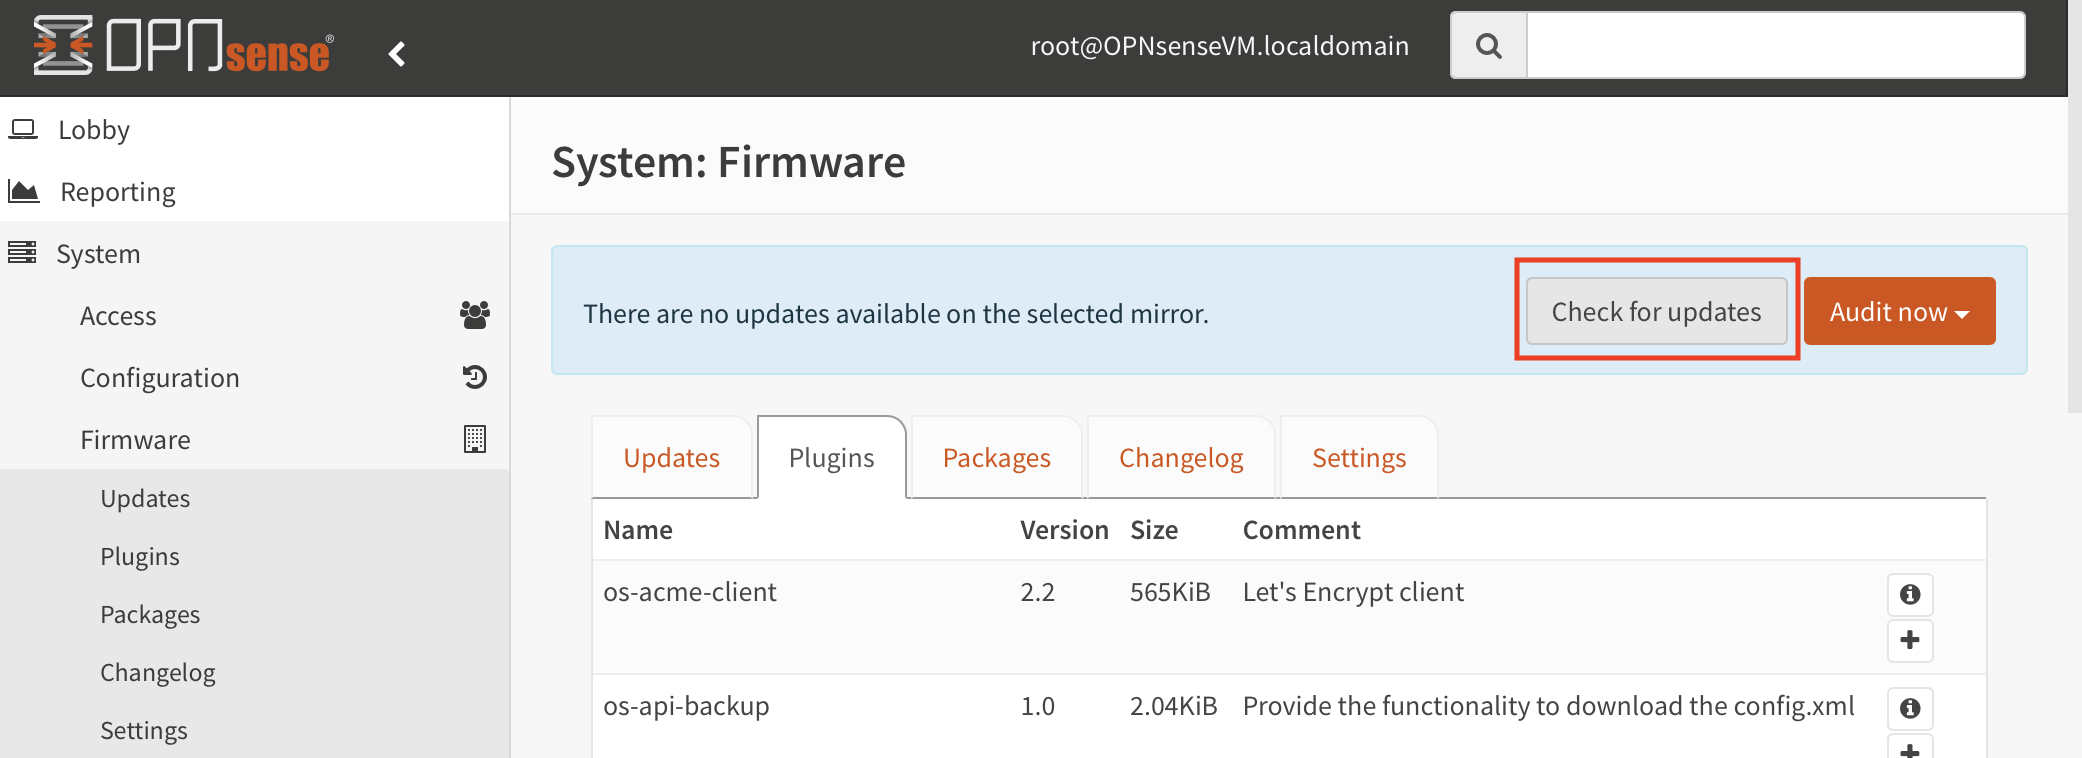
Plugins - Check For Updates
The os-nprobe plugin should appear in the list and can be installed by clicking on the + symbol.
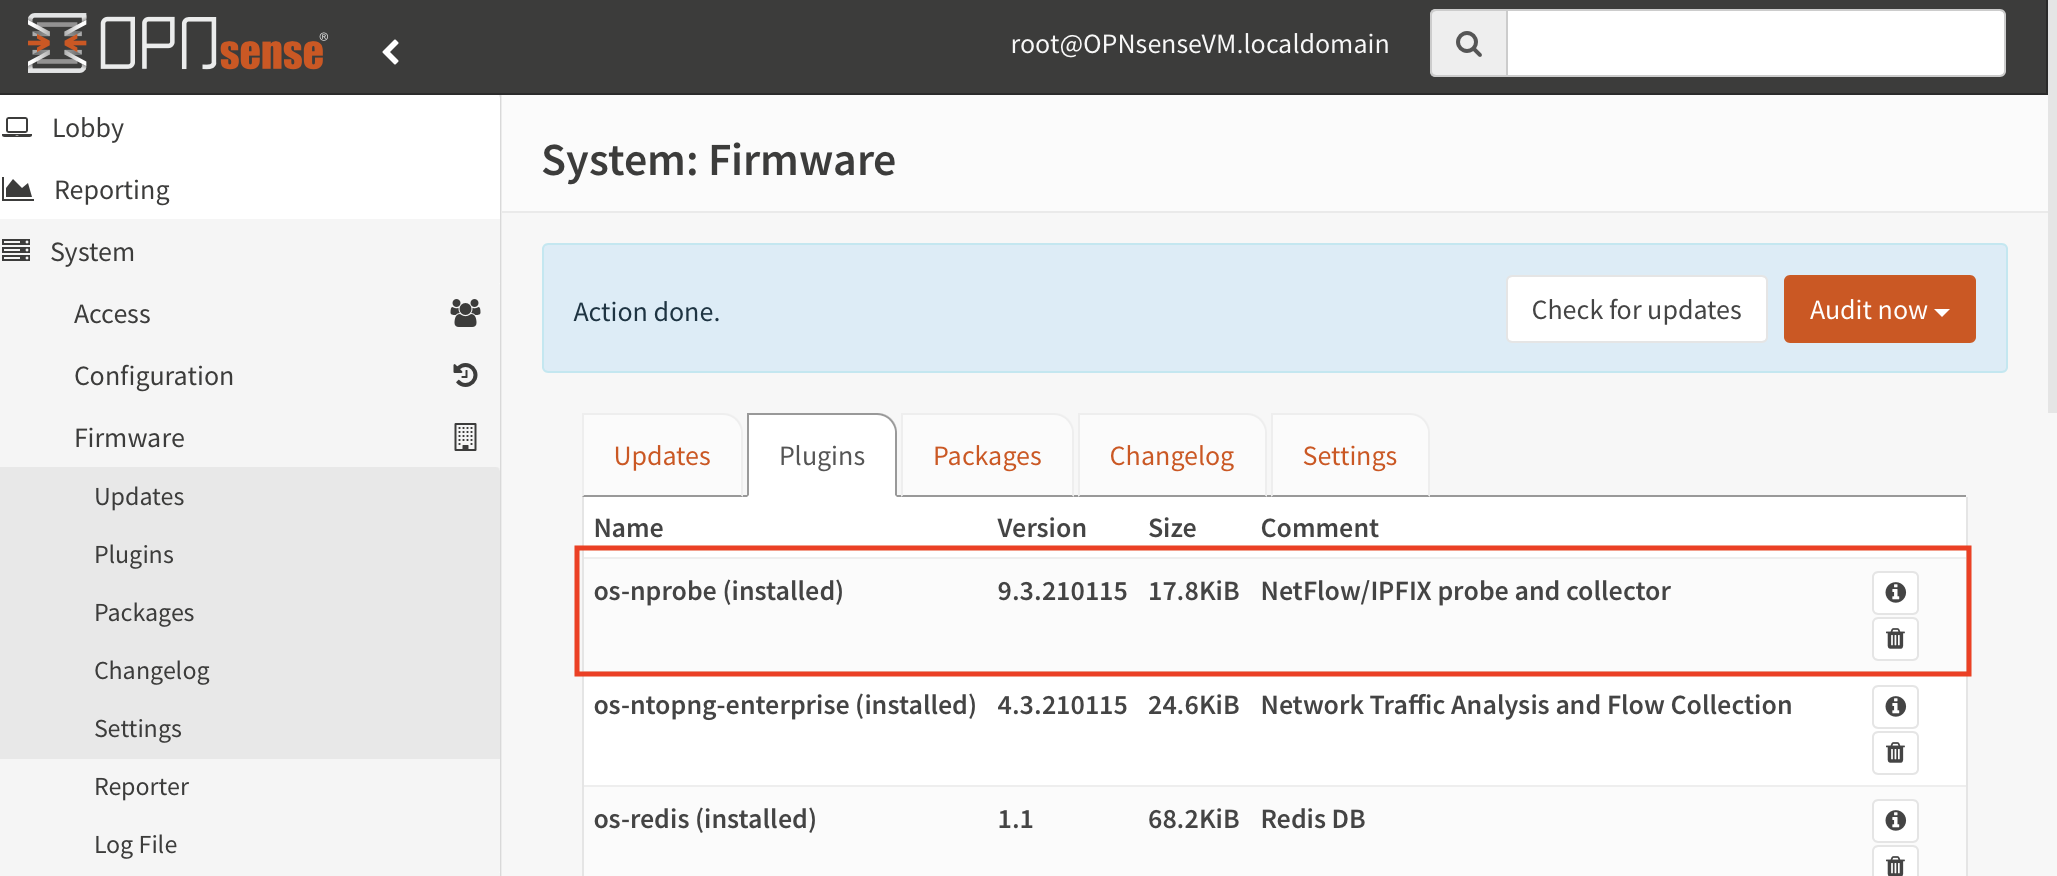
nProbe Plugin Installation
License Configuration
Go to Services > nProbe > Settings > License to get all the information required by the license generator (Version and System ID).
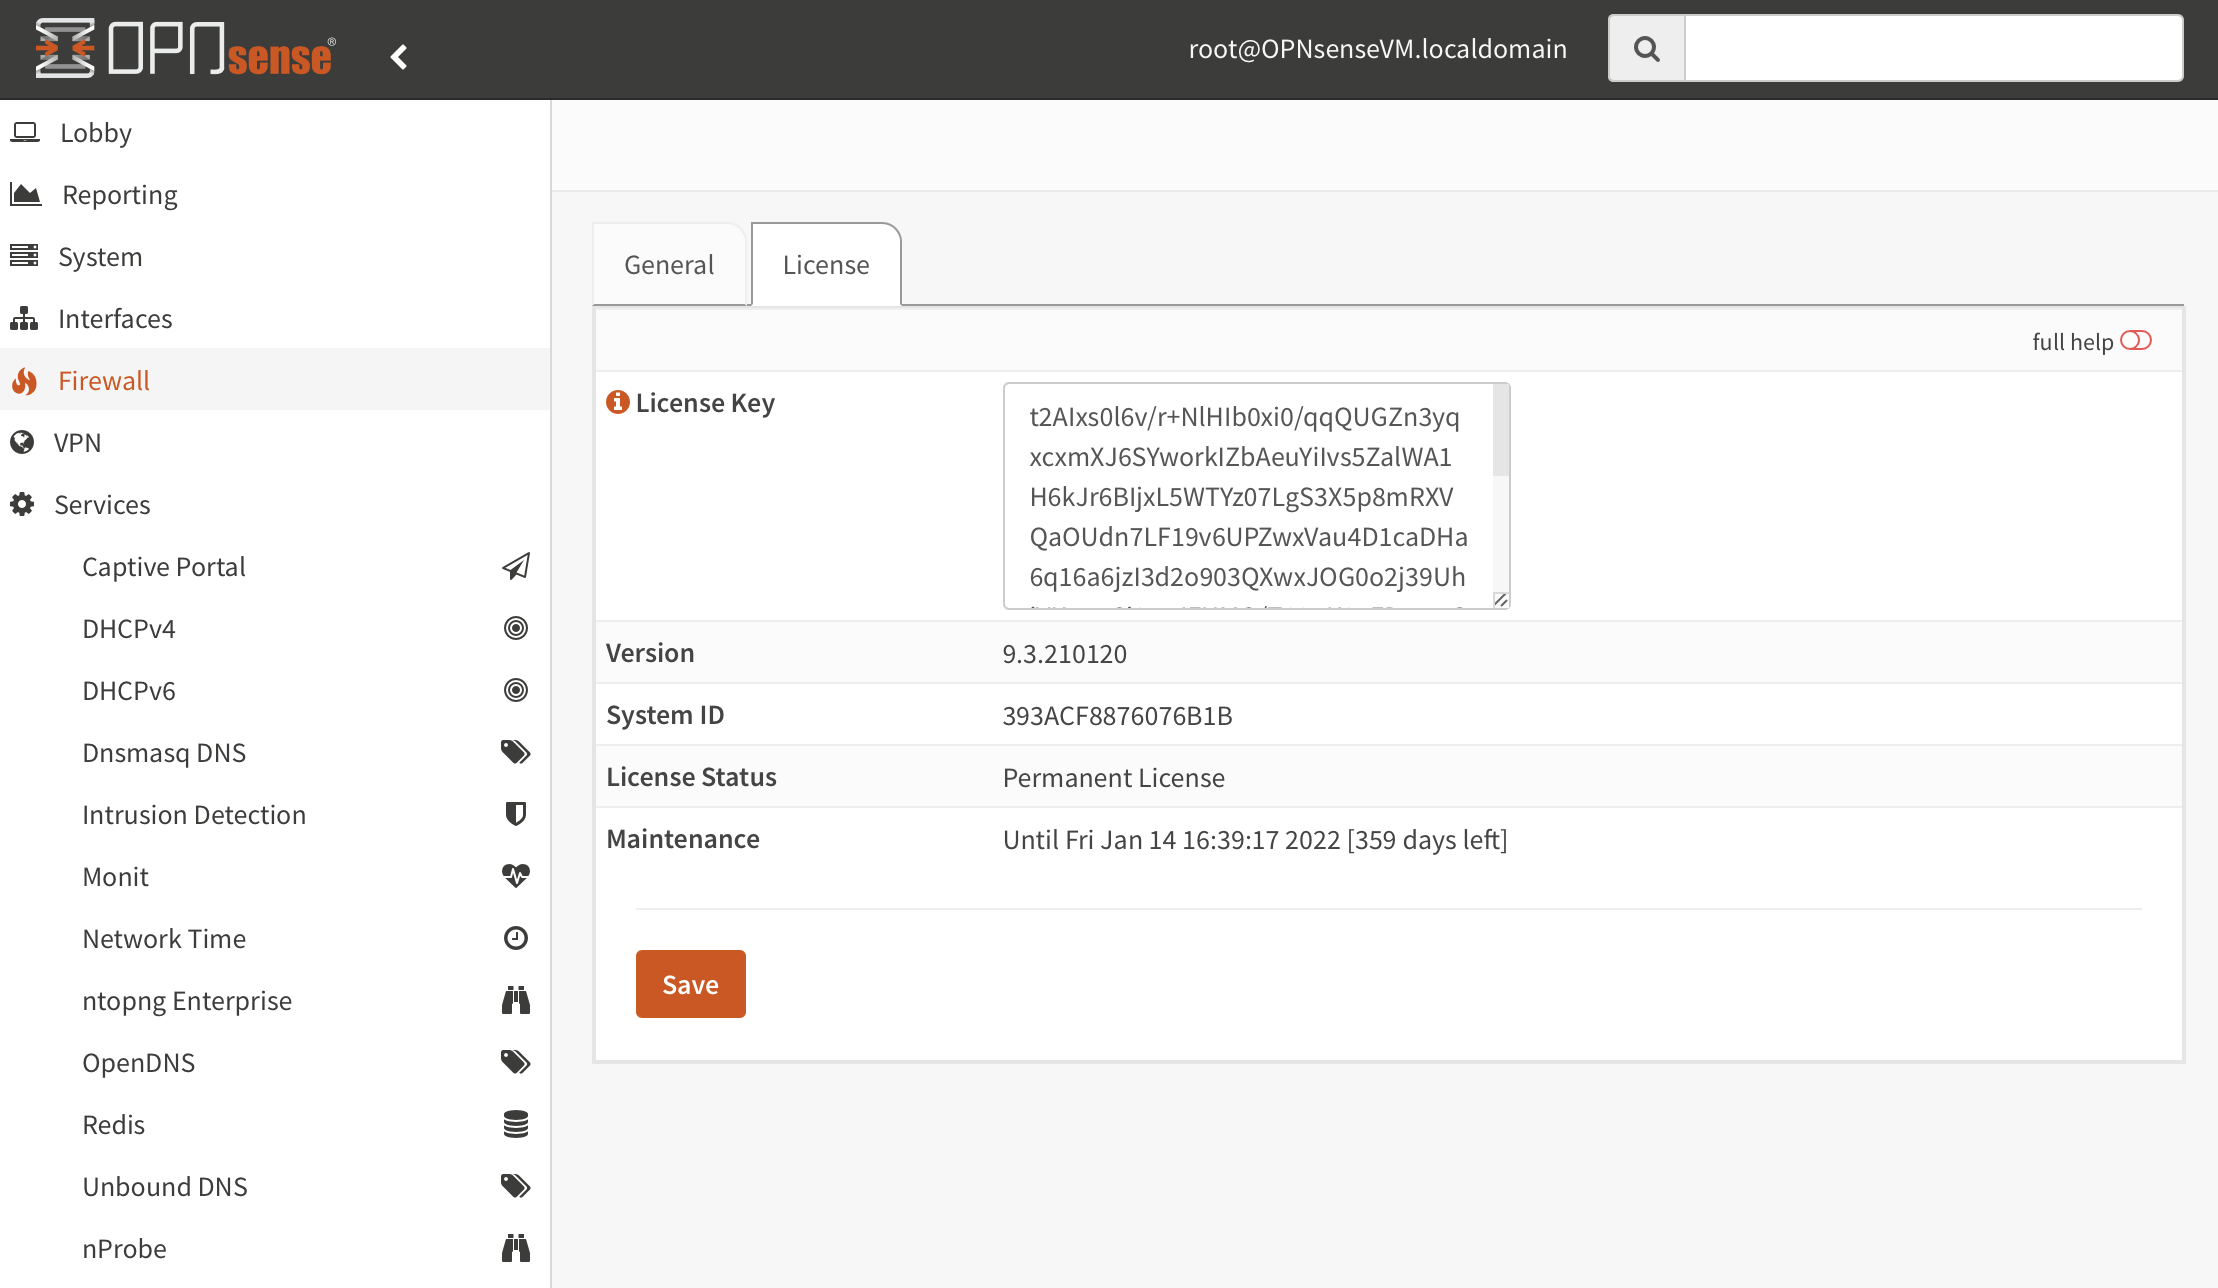
nProbe Info
The license can be installed through the same page by pasting it in the License Key box and saving the configuration. The service should be restarted in the General page.
nProbe Configuration
Going to Services > nProbe > Settings > General it is possible to configure the nProbe service. A basic configuration usually includes the below steps:
Enable the service by checking Enable nProbe
Select the capture Interface
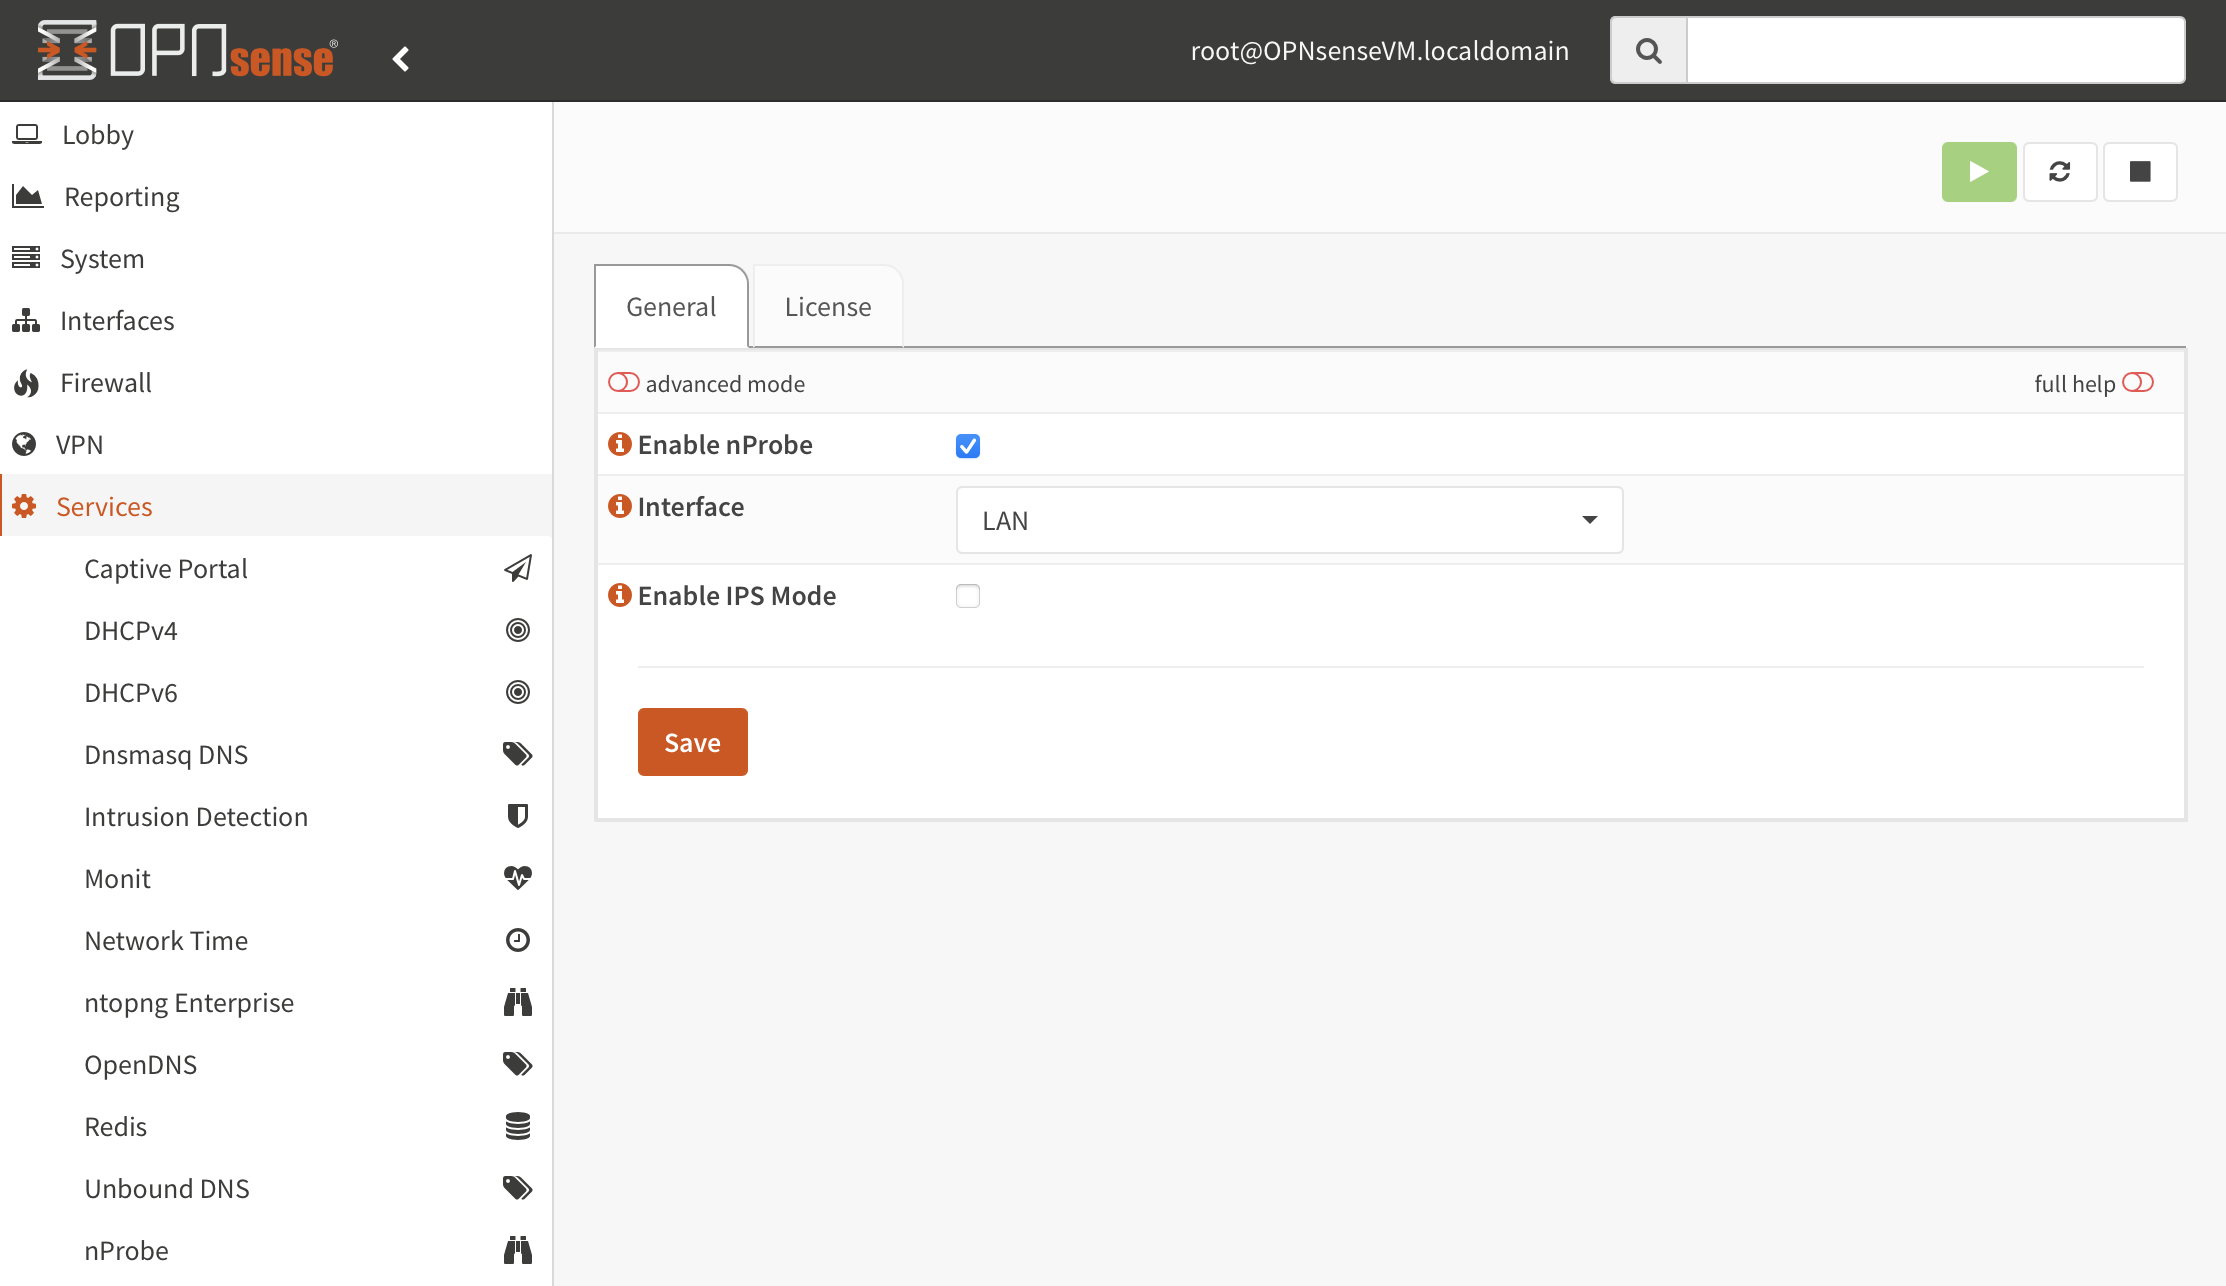
nProbe Configuration
Save the configuration and run the service.
By default nProbe listens for collectors over ZMQ on a default port. Select the advanced mode to change the port or to enable the Probe Mode which is usually useful when deploying nProbe behind a NAT/Firewall, to let it connect to the collector as a client.
Please note that it is possible to use nProbe to deliver traffic information to a local ntopng instance by installing the os-ntopng-enterprise plugin and enabling the Connect to nProbe flag in the ntopng Enterprise plugin configuration page. Please take a look at the ntopng plugin guide for further information.