In a previous post we introduced our new nBPF library that able to convert a BPF filter to hardware rules for offloading traffic filtering to the network card. We did not mention that the same engine can be used for accelerating traffic extraction from an indexed dump set produced by n2disk. n2disk is a traffic recording application able to produce multiple PCAP files (a per-file limit in duration or size can be used to control the file size) together with an index (for accelerating extraction) and a timeline (for keeping all the files in chronological order).
Until last month the only way to efficiently extract traffic out of the terabytes of raw data produced by n2disk in PCAP format was the npcapextract tool, which can be used from command like or through our nBox GUI. With this tool you can retrieve specific packets matching a BPF filter in a given time interval very quickly. This proved to be really useful, however the difficulty of integrating this tool with other applications led us to the development of a PF_RING “timeline” module that can be used to seamlessly do the same job using the PF_RING API (and consequently also the PCAP API thanks to our libpcap-over-PF_RING).
One of the most common use cases for the timeline module is the Wireshark integration. In fact it is very convenient to run Wireshark directly on a n2disk timeline, specifying a BPF filter for extracting a small portion of the whole dump set, and starting the analysis task while the extraction is progressing.
In order to test this module you should install pfring and n2disk following the instruction at http://packages.ntop.org. Please note that the extraction module needs an index and a timeline in order to work, thus you should instruct n2disk to create them on-the-fly using -I and -A options. For additional options please refer to the n2disk documentation. Example:
n2disk -i eth1 -o /storage/n2disk/eth1 -I -A /storage/n2disk/eth1/timeline
In order to tell PF_RING that you want to select the timeline module, you should use the “timeline:” prefix followed by the timeline path as interface name. In addition to this, it is mandatory to provide a BPF filter containing at the beginning the time interval using “start” and “end” tokens, followed by the actual packet filter (a subset of the BPF syntax is supported, please refer to the n2disk documentation) as in the example below:
pfcount -i timeline:/storage/n2disk/eth1/timeline -f "start 2016-09-22 8:40:53 and end 2016-09-22 10:43:54 and host 192.168.2.130"
If you want to do the same in Wireshark, since you cannot use “timeline:” as interface name (Wireshark lets you choose PCAP files and devices as traffic sources, but it is not aware of n2disk timelines), you have to create a virtual interface bound to your actual timeline, and select it as traffic source. The libpcap-over-PF_RING will do all the rest. In order to create the virtual interface you should use the “n2if” tool, part of the PF_RING package:
n2if up -t /storage/n2disk/eth1/timeline -d timeline0
After creating the virtual interface bound to the timeline, you should be able to run the extraction using Wireshark (or tshark). Please note you should set the env var LD_LIBRARY_PATH with the PCAP-over-PF_RING library installation path (default is /usr/local/lib/) in order to force Wireshark to load the correct libpcap. Please also note that the Wireshark provided by most distros are compiled across libpcap.so.0.8, thus you probably need to create an ad-hoc symlink:
ln -s /usr/local/lib/libpcap.so /usr/local/lib/libpcap.so.0.8
At this point you should be able to run Wireshark providing the virtual interface created with n2if and a BPF filter containing the time interval as described above:
LD_LIBRARY_PATH=/usr/local/lib/ tshark -i timeline0 -f "start 2016-09-22 8:40:53 and end 2016-09-22 10:43:54 and host 192.168.2.130"
If you are using the Wireshark GUI, you should run just the wireshark command without any option:
LD_LIBRARY_PATH=/usr/local/lib/ wireshark
Select the virtual interface from the GUI:
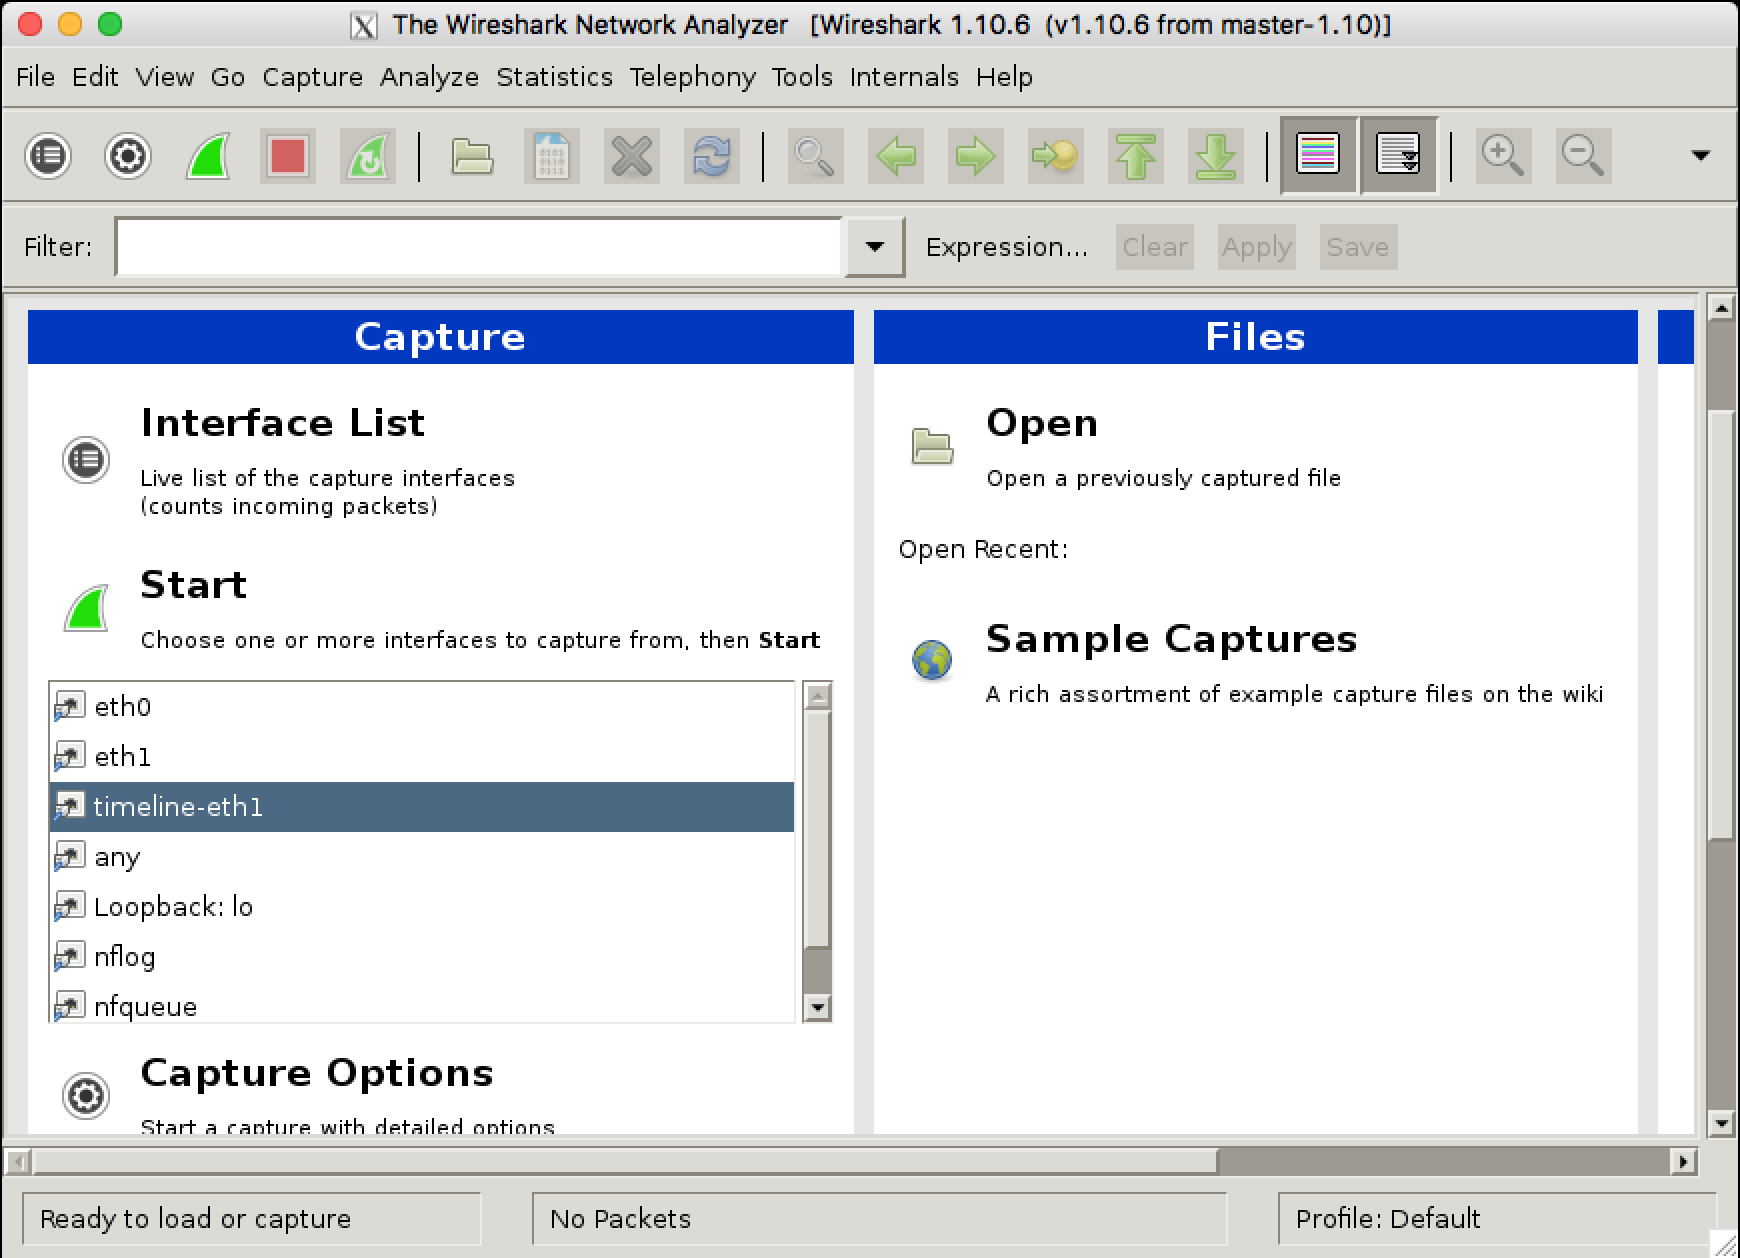
Set a capture filter specifying time interval and BPF:

Then you can start the packet capture (extraction) and start analysing your traffic:

We will present also this at the upcoming Sharkfest Europe conference, where we will organise a free half-day workshop. See you next week!