It’s been 3 years since InfluxDB v.2 was released and until a couple of months ago we didn’t plan to add the support to the InfluxDB v.2 due to many reasons: migration from SQL to Flux query language, v2 performance not better than v1. The in the meantime InfluxData release InfluxDB v3 that is currently only supported on their cloud and not yet packaged as on-prem product.
However due to the more pressing requests and suggestions from our customers we finally decided to add the support as follows: as InfluxDB v.2 still partially supports v.1 REST API (that’s how we implemented the support to the v.1) , so why not just tunes the few changes still using the v.1 REST API?
HowTo Configure InfluxDB 2.x
Now let’s see how to create and configure an InfluxDB bucket that supports v.1.
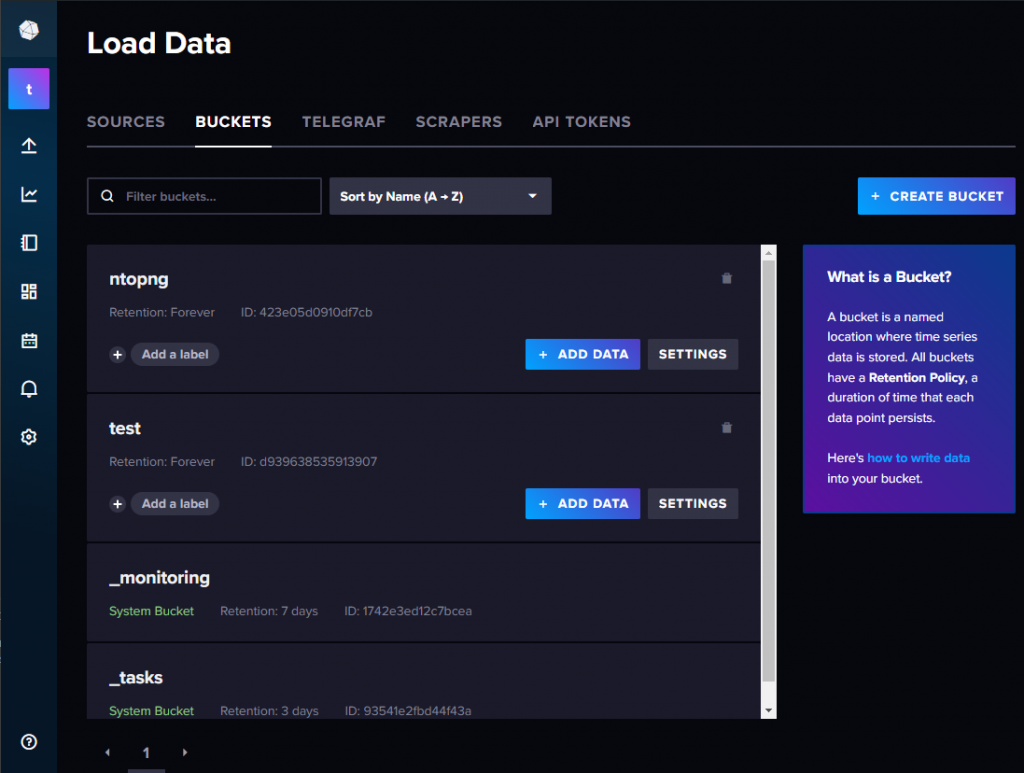
First of all let’s start by logging in InfluxDB v.2 web interface and jump to the buckets; then let’s create a new bucket named ntopng.
Now what we need to do is enabling the support of this bucket, to the InfluxDB v.1 REST API; to do that we need to jump to the terminal and run the following command:
influx v1 auth create --read-bucket BUCKET_ID --write-bucket BUCKET_ID --username USERNAME_FOR_NTOPNG --password USERNAME_FOR_NTOPNG --org YOUR_ORGANIZATION --token REST_API_TOKEN_PROVIDED_BY_INFLUX
Where:
- BUCKET_ID, is the bucket id you can find in the InfluxDB GUI (e.g. if we use the ntopng bucket of the screenshot above, it’s the 423e05d0910df7cb)
- USERNAME_FOR_NTOPNG, PASSWORD_FOR_NTOPNG, are the username and password that soon we are going to add in the ntopng web interface (InfluxDB Authentication)
- YOUR_ORGANIZATION, is the organization name is the one used by InfluxDB (i didn’t change it during my tests, so it was the one I inserted when logging in for the first time in InfluxDB)
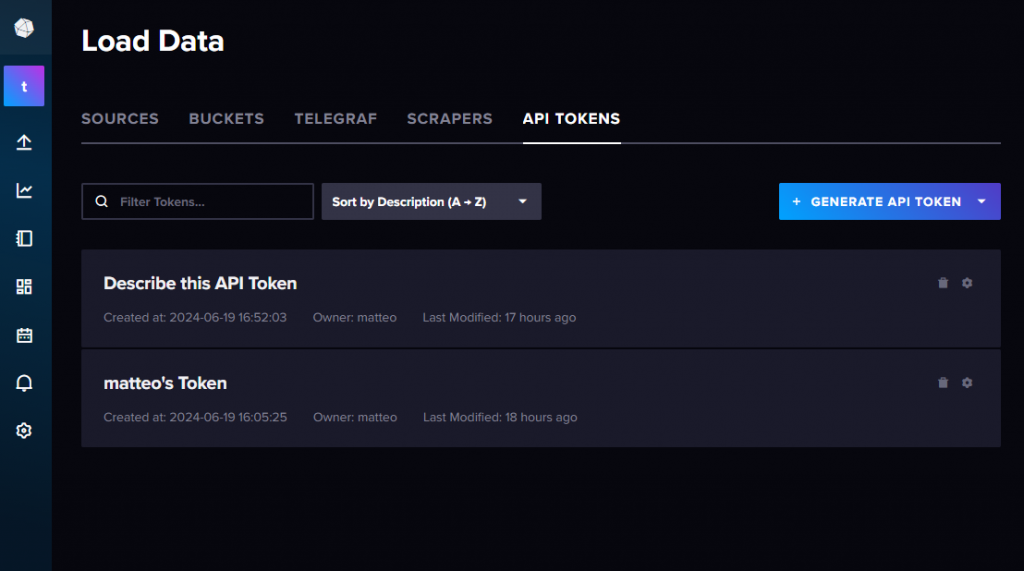
- REST_API_TOKEN_PROVIDED_BY_INFLUX, is instead the REST API provided when logging in the first time or it can be generated from the API TOKENS section of InfluxDB GU
Now the InfluxDB part is totally configured, let’s see ntopng.
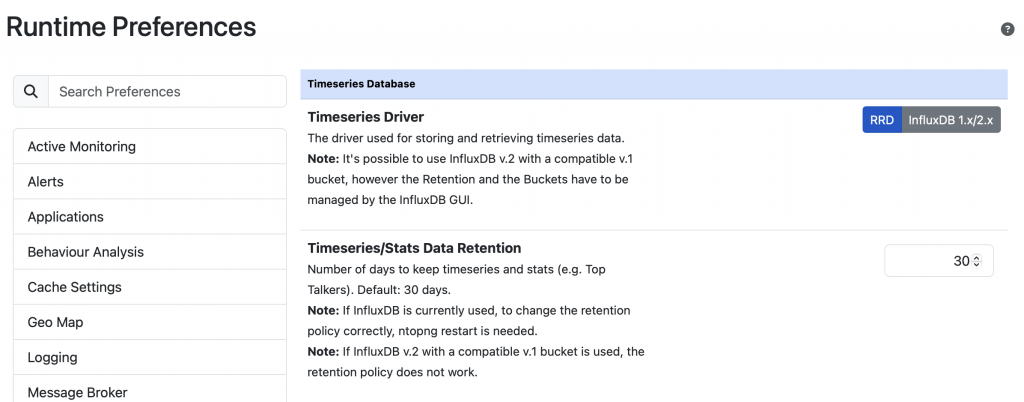
Let’s directly jump to the Settings -> Preferences -> Timeseries tab

Let’s select as Timeseries Driver InfluxDB 1.x and lets fill the various preferences in the following way:
- InfluxDB URL , The InfluxDB URL used for REST API (by default, http://localhost:8086)
- InfluxDB Database , The bucket name we previously created especially for ntopng (in the example above, it was named ntopng)
- Enable the InfluxDB Authentication
- Username , the USERNAME_FOR_NTOPNG previously created by running the influx command
- Password, the PASSWORD_FOR_NTOPNG previously created by running the influx command
And that’s it!
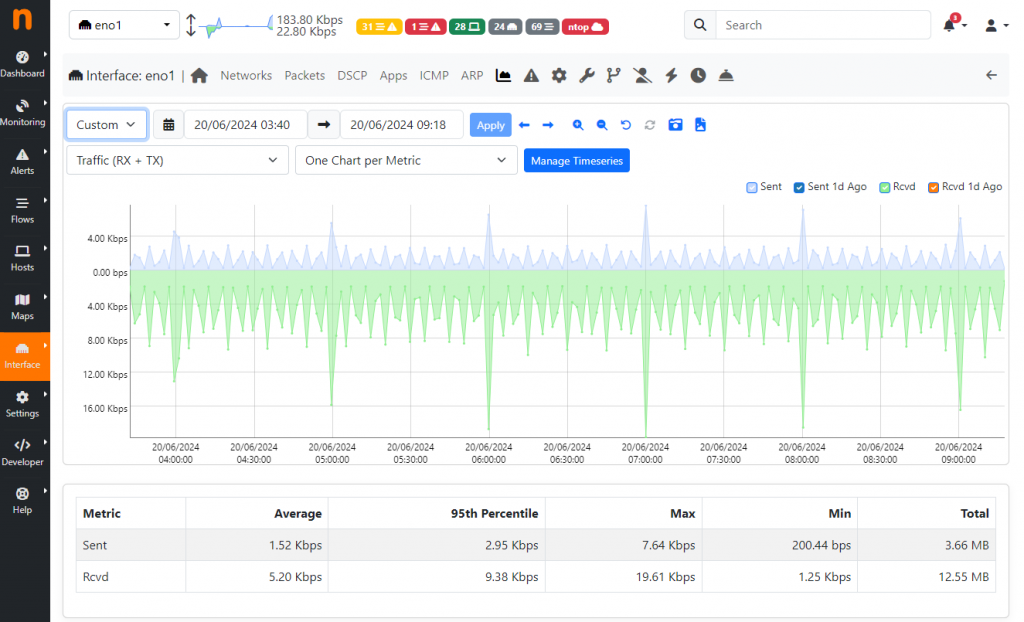
From now on all the data are going to be exported to InfluxDB v.2 correctly!
Note: an important thing to know is that in InfluxDB v.2 it was removed the support to the RETENTION, CREATE and DROP keywords from the REST API. For this reason the Retention and Relative DROP of old data, has to be managed by the InfluxDB v.2 Web Interface and cannot handled by ntopng itself (like for the v.1).
Enjoy!


