ntopng has native blacklist support that enables generation of alerts when malware sites are contacted. You can enable/disable the list of active blacklist by accessing the blacklist page from the preferences menu of the left sidebar
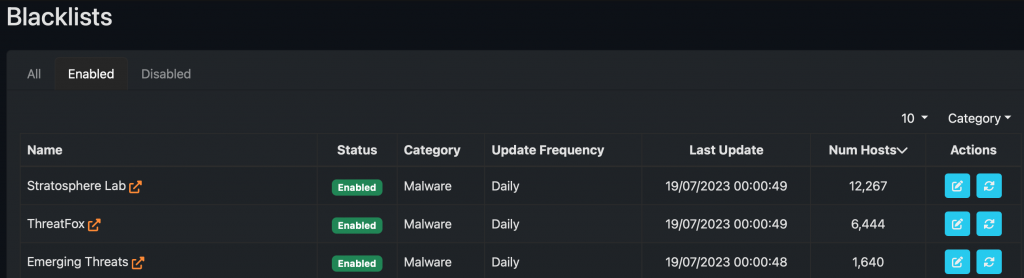
and also configure the list properties such as refresh rate as well enable/disable them.
Now suppose you want to trigger an alert when contacting a specific IP address or a website (this regardless if using clear-text protocol such as HTTP or encrypted TLS-based communications). How can you do that? See it below:
- Define a text file containing the website and/or IP addresses you want to be used to trigger an alert. The file format changes according to the filtering type: for IP based filtering this is the format to use, whereas for host/domain based filtering you can use this file as example. You can define one of them (or both) according to your needs.
- Put the custom blacklist files you have defined on a web server that ntopng can access.
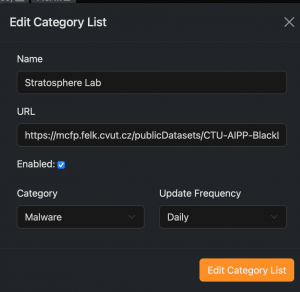
- Now define a custom configuration file for each of your blacklist as described at this page. Doing this, you need to set the URL that you have used at the previous step in order ntopng to load the custom blacklist you have defined.
- At this point ntopng is instructed to trigger an alert whenever traffic matches the custom IPs/hostnames that you have defined. You can find those alerts in the Flow page of the Alerts Explorer on the left menu sidebar.
- Note that if you want to modify (e.g. add an IP or remove a hostname) your lists, you need to wait until ntopng reloads the list according to your preferences (e.g. daily), or you can force immediate blacklist reload by clicking on the reload button in Blacklist preferences.
If you have created custom blacklists you want to share with the ntop community, please do not forget to send us a pull request on github.
Enjoy !