ntopng has grown significantly over the past years, providing an increasingly-interesting set of features to support network analysts and troubleshooters in their decisions. Among the most relevant features, it is worth mentioning that timeseries inspection pages have been redesigned and reworked profoundly to facilitate the drill-down of historical data. Similarly, a home-grown high-speed special-purpose flow database has been seamlessly integrated in ntopng to ease the storage and retrieval of historical flows.
However, the circle was not really closed. A piece was missing. Something that could take us down to the packets. A feature that could allow us to start start the drill-down at the timeseries-level and then, step-by-step, after opportune selections and filters, could allow us to fetch the matching traffic packets. Real packets. Those packets responsible for the generation of the timeseries we’ve started the drill-down from.
Motivated by this, we have worked hard to add continuous traffic recording support to ntopng. We have been developing the n2disk traffic recording technology for several years now and have finally created a strong tight between n2disk and ntopng.
Let’s briefly see how it works. Don’t forget to go through the manual for more detailed information.
First of all, you have to install package n2disk and restart ntopng. An extra “Traffic Recording” entry in the “Runtime Preferences” menu will appear. You have to add an n2disk license key there. Contact us to get a demo license or use our shop to purchase one (note that licenses are free for non-profit organisations and NGOs).
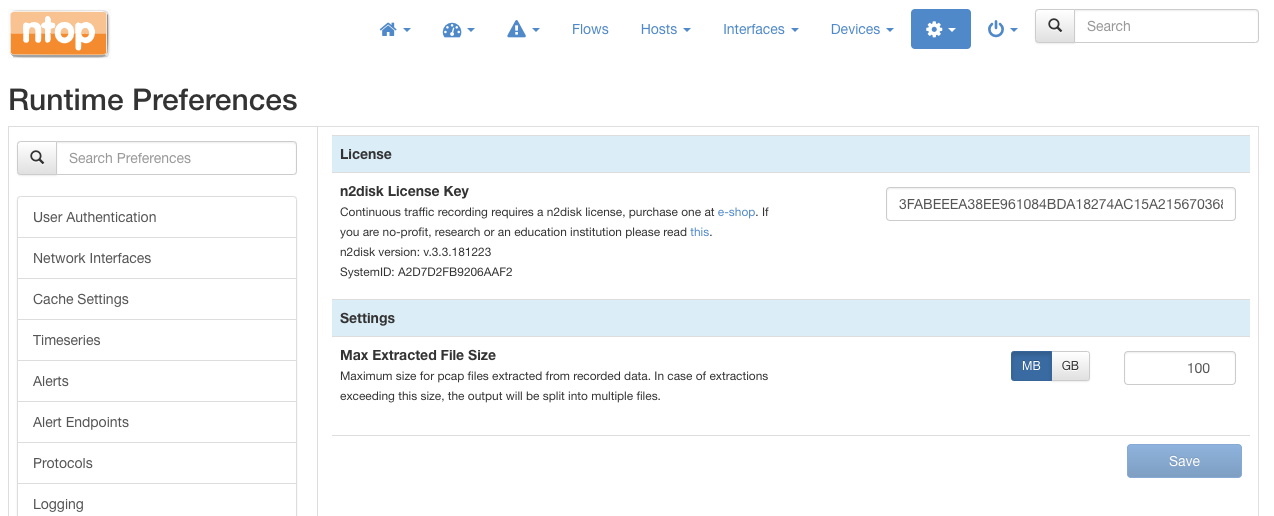
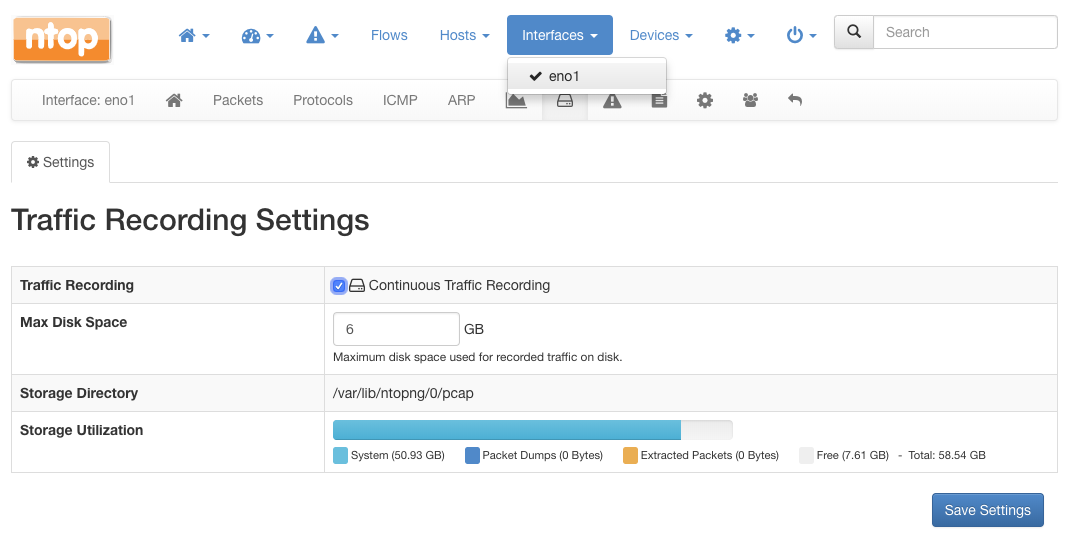
Once the license is setup, you can visit the interface page, tab “Traffic Recording” to configure recording settings. You can tick the checkbox to enable and disable the traffic recording, configure the maximum disk space that should be allocated for the recording of the traffic, and even monitor the current storage utilisation. What happens when the maximum disk space is hit? Pretty simple, oldest traffic will be overwritten by the newest one.
When the traffic recording is enabled, an icon in the bottom-right corner of ntopng will appear to confirm this. Click that icon to access recording statistics and status.
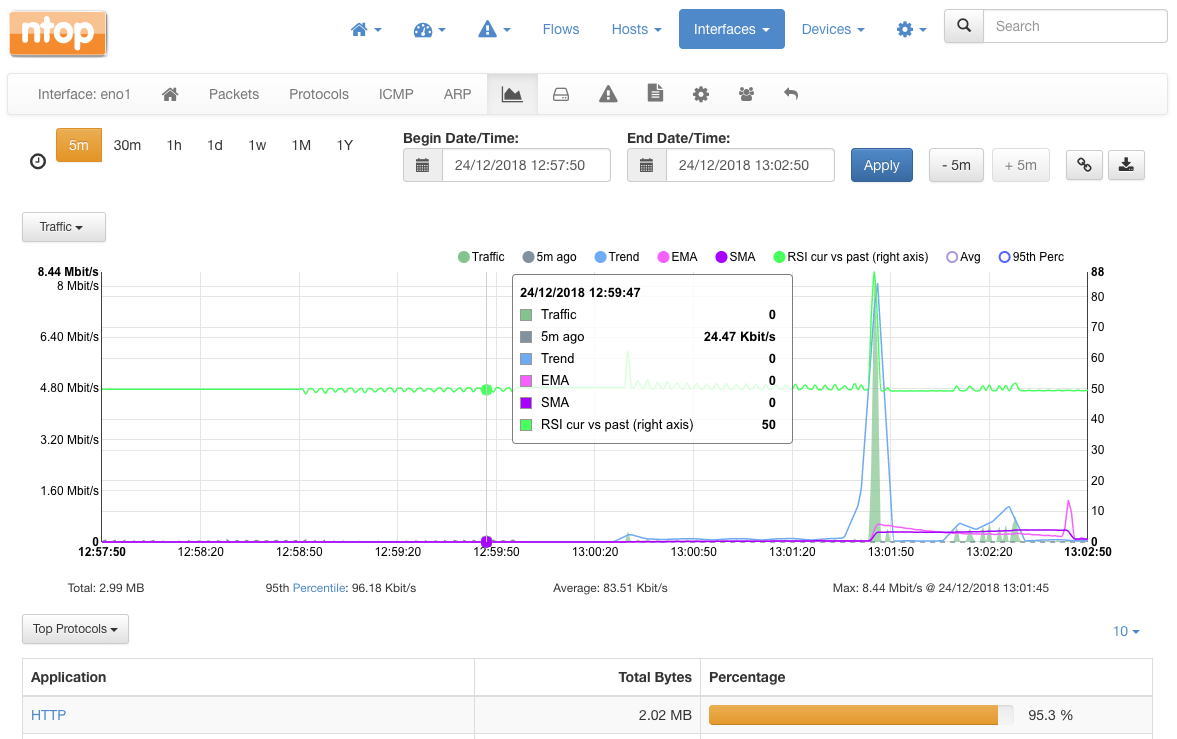
And now the juicy part! Wondering how to download recorded traffic? Well, open up any of the charts page, including those of interfaces, local hosts and networks. Do the selection of interest, slice and dice using the mouse or the selectors. Finally, do you see the small top-right download button? Use that to download the pcap!
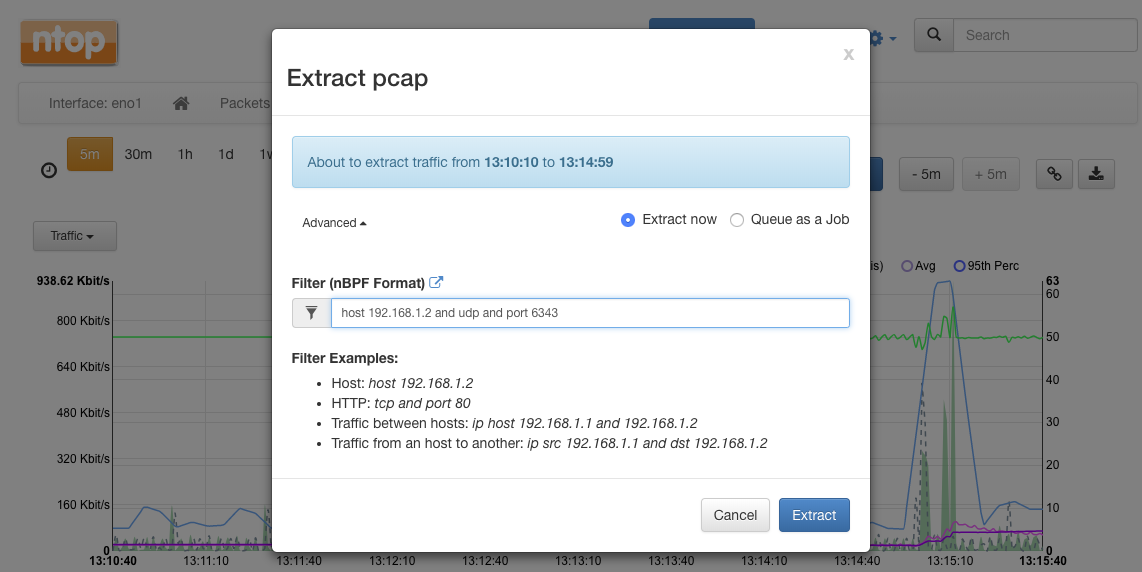
For the download, a dialog will ask you if you want to download the file immediately or if you want to schedule an extraction job.
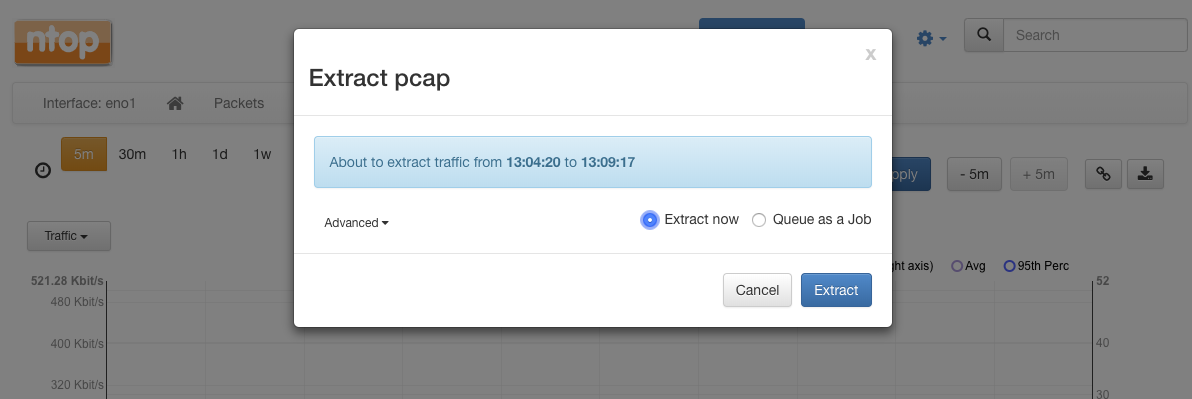
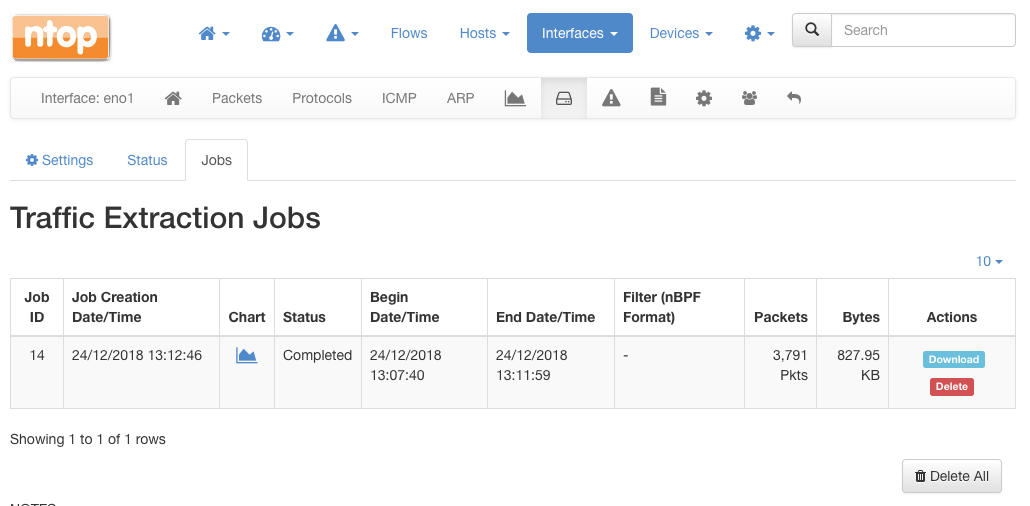
You can select “Extract Now” to immediately start downloading the pcap file. Alternatively, you can select “Queue as Job” to let ntopng do the extraction. Once the file is extracted, ntopng archives it on the disk for later download and usage.
Wondering if you could also specify BPF filters? The answer is yes! Just click on the “Advanced” and specify the filter there!
Finally, some words on the limitations. Currently, the Layer-7 protocols cannot be specified when downloading a pcap. This means that you won’t be able to download the traffic of a single Layer-7 application protocol as detected by nDPI. The traffic of all Layer-7 protocols will be downloaded unless you create a BPF filter that you know it matches the protocol of interest. But don’t worry too much, we are already working on this to allow the download of specific nDPI-detected Layer-7 protocols.
And remember, pcap or it didn’t happen!