
Many times traffic analysts receive pcap files containing some traffic to analyse. The usual steps for analysing the pcap file with ntopng have been for a long time:
- Save the pcap file to disk and upload it to the host where ntopng is running.
- Stop the ntopng service and restart it from shell as ‘ntopng -i uploaded_file.pcap’
- Once the analysis is over, stop ntopng, delete the uploaded pcap, and restart ntopng as a service.
These steps are too complex for many people, and do not ease the adoption of ntopng for pcap analysis. For this reason we have developed a new feature (available in all versions of the dev branch) that makes pcap analysis simple and convenient. Under the Developer menu there is a new entry named ‘Analyse Pcap File’ that does the magic.
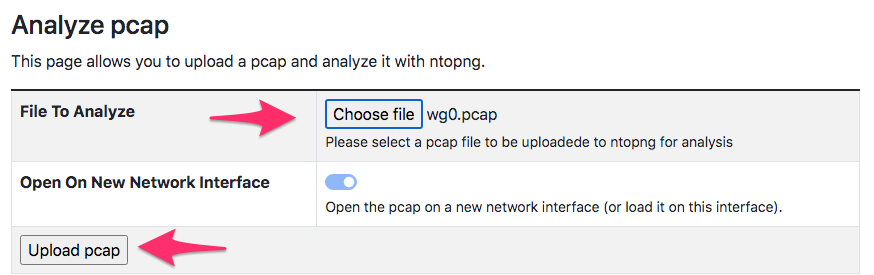
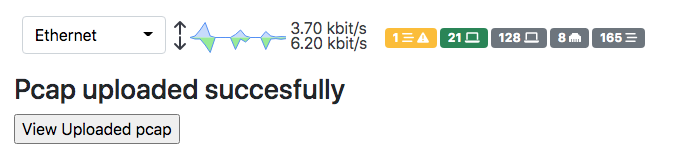
Using the above form, you can select a pcap file to upload to ntopng for analysis. The pcap will be uploaded to ntopng, and immediately analysed in a new network interface freshly created.
The new network interface will be labelled with the pcap file name just uploaded. The uploaded pcap will be temporarily/safely saved under /var/lib/ntopng/tmp/upload/ and deleted once ntopng has read it completely.

If you have many pcaps to analyse and you want to prevent ntopng from creating too many network interfaces, you can use the toggle in the upload form to instruct ntopng to replace the current pcap interface with the new pcap you are uploading. In order to avoid uploading huge files, ntopng limits the upload size as described in the documentation.
Enjoy !